Using the Gutenberg Editor – The Basics
October 25, 2018 3:05 amThe Gutenberg Editor, part of WordPress 5.0, was created to “make adding rich content to WordPress simple and enjoyable.”1 It uses a system of blocks that can be added, deleted and rearranged on page to create a more customizable look to your content. There is a block available for just about every type of content you would need, such as:
- Paragraphs
- Headings
- Images
- Pullquotes
- …and more
To get started you’ll need a WordPress installation, either locally or on a server somewhere, and the Gutenberg Plugin which can be downloaded from WordPress.org. Once installed the plugin will give you all the functionality of the upcoming core feature.
Working with blocks
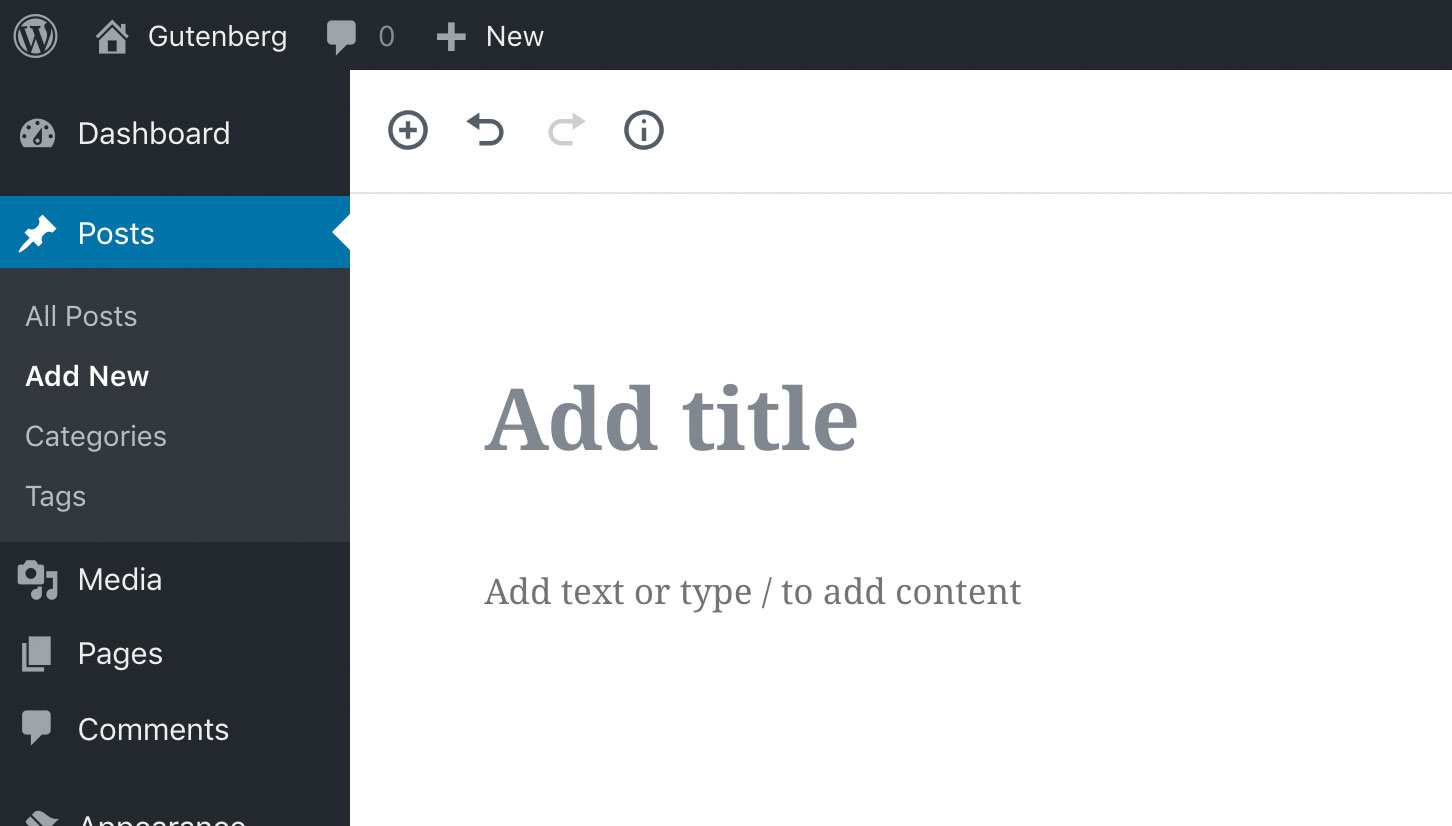 When creating a new page or post, the first thing you’ll notice is the missing form-like interface of the previous WordPress editor. Instead, you’ll see a white canvas with a large heading for the title and a Paragraph Block. Click either block to begin typing just as you would in the old editor.
The three stacked dots offers some block related options such as duplicating or deleting the block itself. On the far left, you’ll see an icon for the block-type (the paragraph symbol in our case). This dropdown allows you to change the block into another related block type. Finally, by clicking the gear icon in the top right of the window (just under your user/account name) you can display even more block settings. For the Paragraph Block, this is where you can change the font-size, add drop caps and change the text color. There’s also an Advanced settings section where you can add a CSS class to further customize your text. Here is the final block I created: Photo by JuniperPhoton on Unsplash In upcoming posts I’ll be demonstrating individual blocks and their unique settings and uses. For now, I hope this gave you an idea of just how useful blocks could be for your site and alleviates some apprehension about the new editor.
Adding a new block
 To add a new block, click the + icon in the top left area of the editor. Now select the type of block you want to add. In my example, I chose the Cover Image Block under Common Blocks. This adds a new block at the bottom of all the existing blocks and allows us to upload an image or select one of our previously uploaded files. After choosing my image I’m given the option to type in the overlaying text for the block. You’ll see you have some of the same options as a paragraph for text formatting and adding links.
Arranging blocks
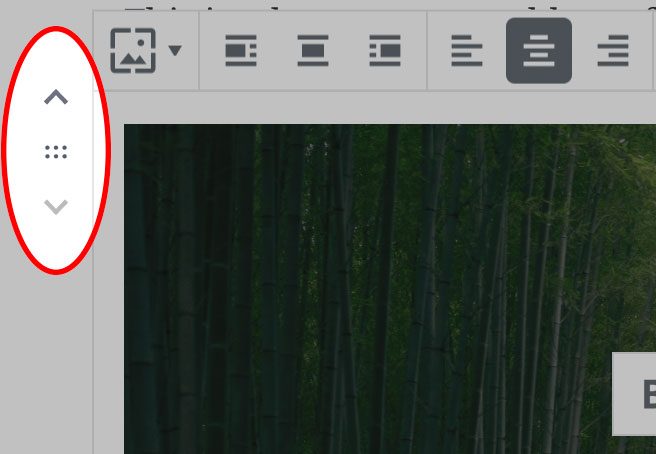 To rearrange blocks on the page, simply hover over the one you with to move and use the controls on the left side. Clicking the arrows moves the block up or down one step and clicking the dot pattern in the middle allows you to drag the block up or down to your desired location.
Deleting blocks
 If you decide you need to remove a block, use the stacked dots on the right of the menu and select Remove Block from the dropdown.
What’s next?
1excerpt from WordPress.org